





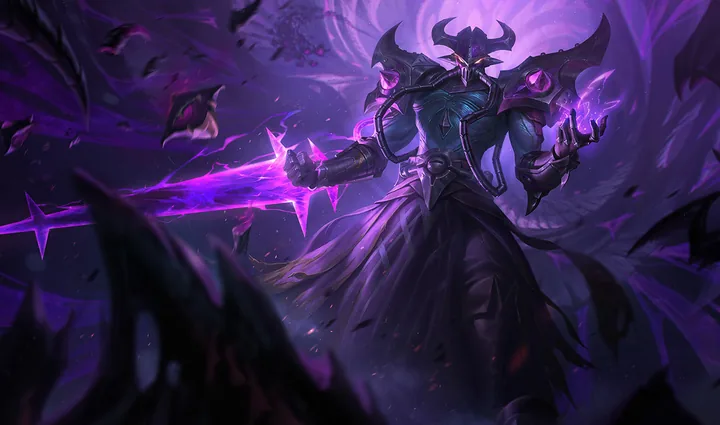

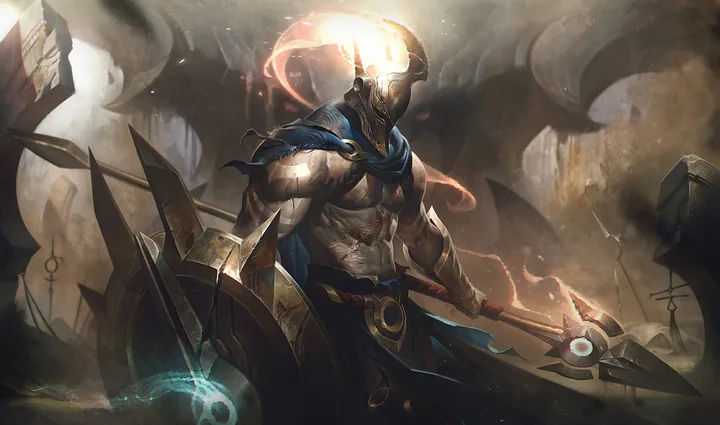

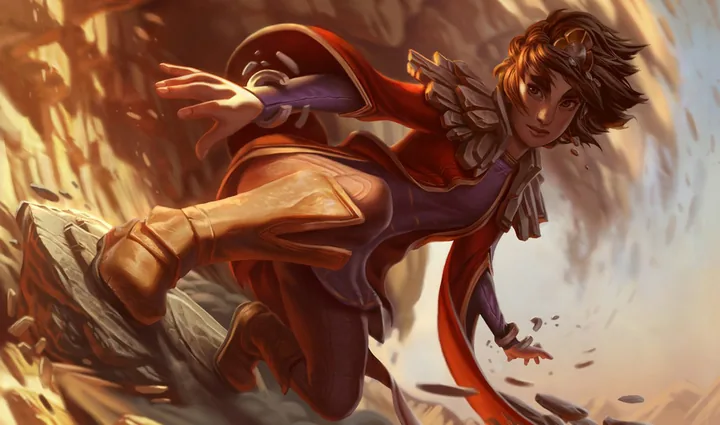


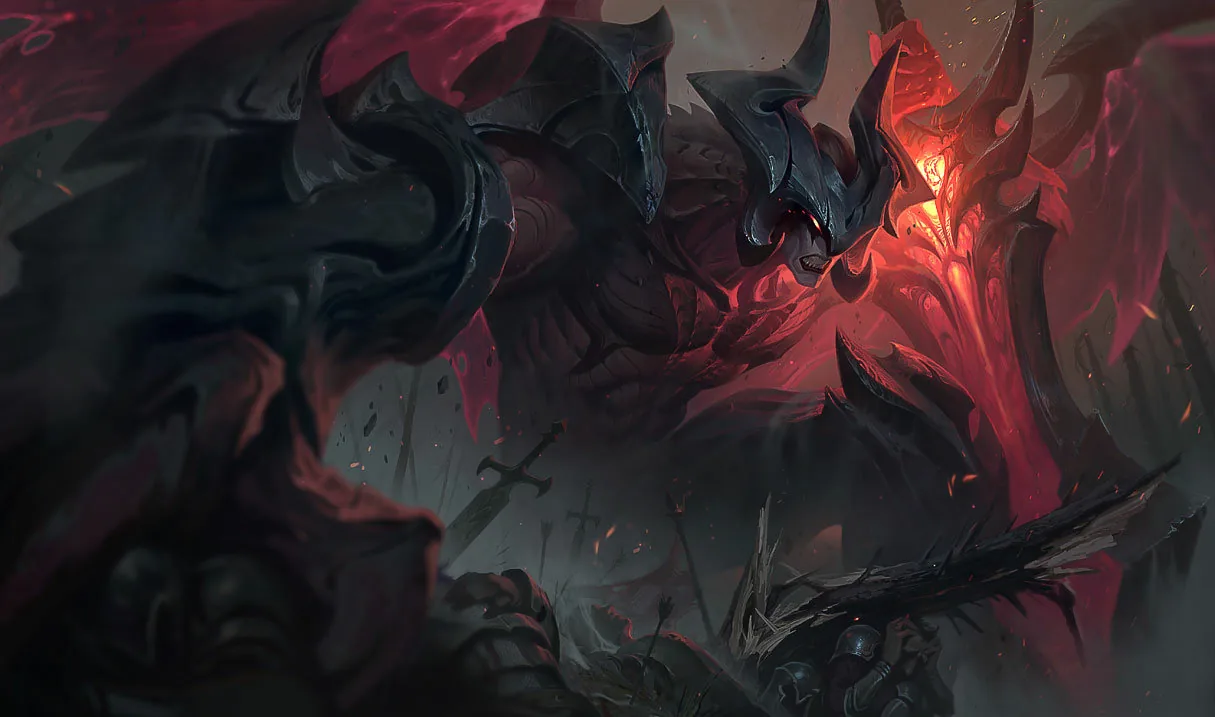
Yasuo vs
Aatrox
Sample setup · awaiting Komari’s review
 Primary
 Secondary
Shards
Example starting items
Example core build
Example situational items
Summoners
Example pair. Komari can replace these choices and their notes.
Level by level
Skill order
| Ability | 1 | 2 | 3 | 4 | 5 | 6 | 7 | 8 | 9 | 10 | 11 | 12 | 13 | 14 | 15 | 16 | 17 | 18 |
|---|---|---|---|---|---|---|---|---|---|---|---|---|---|---|---|---|---|---|
| Q | Level 1: Q, rank 1 | · | · | Level 4: Q, rank 2 | Level 5: Q, rank 3 | · | Level 7: Q, rank 4 | · | Level 9: Q, rank 5 | · | · | · | · | · | · | · | · | · |
| W | · | · | Level 3: W, rank 1 | · | · | · | · | · | · | · | · | · | · | Level 14: W, rank 2 | Level 15: W, rank 3 | · | Level 17: W, rank 4 | Level 18: W, rank 5 |
| E | · | Level 2: E, rank 1 | · | · | · | · | · | Level 8: E, rank 2 | · | Level 10: E, rank 3 | · | Level 12: E, rank 4 | Level 13: E, rank 5 | · | · | · | · | · |
| R | · | · | · | · | · | Level 6: R, rank 1 | · | · | · | · | Level 11: R, rank 2 | · | · | · | · | Level 16: R, rank 3 | · | · |
Q · Track all three casts before committing
Aatrox: Q · Track all three casts before committing
E · Watch for the dash that changes the Q angle
Aatrox: E · Watch for the dash that changes the Q angle
W · Keep Wind Wall for the travelling chain
Aatrox: W · Keep Wind Wall for the travelling chain
Overview
This example fills the guide’s loadout, skill order, and coaching sections so you can see the full format. It is not Komari’s finished  Aatrox guide.
Look for short trades after Aatrox commits his sword swings. Keep a minion route available so your dash has an exit.
Early game
Play around the reach of  his Q swings. Hold a dash target behind you rather than spending every E to enter the trade.
Keep trades short while the wave gives you room to leave.
How to trade
Wait for Aatrox to commit a Q before choosing your dash angle. Avoid trading your entire escape route for a single hit.
Wind Wall does not stop the sword swings. Save it for the incoming Infernal Chains projectile when that is the threat.
Watch out
Do not confuse the sword swing with a projectile. Spacing and movement handle Q.
If Infernal Chains has already attached, placing Wind Wall does not remove the tether: leave its pull area.
Late game
Follow an allied airborne target when it gives you a safe entry. Keep your next dash in mind before committing.
Tips
Track the full Q sequence.
Leave a minion available as your exit.
Use Wind Wall for the incoming chain, not the sword swings.
Skill order
Example leveling: Q first, then E, then W. Take R when it becomes available. Komari can replace this sequence in the guide editor.